The sports face shield was my first ever formal design project! It was a class project for my Intro to Design course at Cal Poly, but I think I really got a lot out of it in terms of learning the design process.
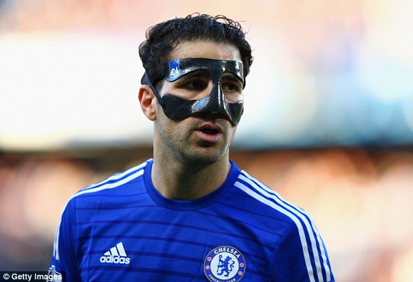
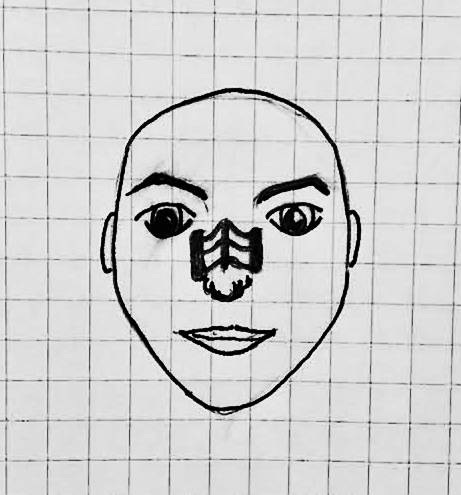
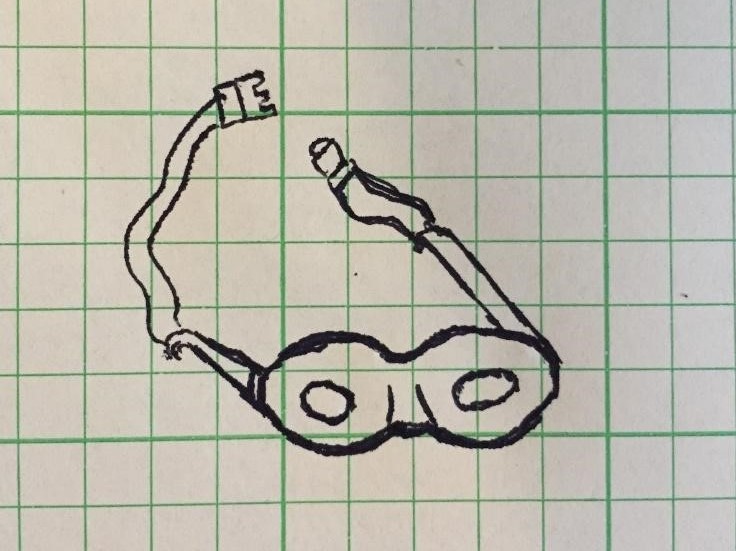
Everyone has seen those bulky face shields that athletes wear when they suffer from a broken nose. Sometimes athletes have to wear them for an extended period of time and it even becomes known as a part of their identity. While some top-performing athletes are able to afford top-of-the-line, sometimes even custom face shields to protect them from re-injury, the models available to the layman are bulky, uncomfortable, and severely impair vision.
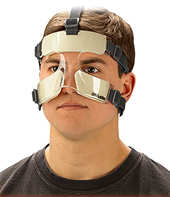
So we sought out to design and build a face shield that would solve this problem. We laid out our design requirements to include the maximum weight, the ease of positioning, size accommodation, maximum cost, strength of material, and hindrance to visibility.
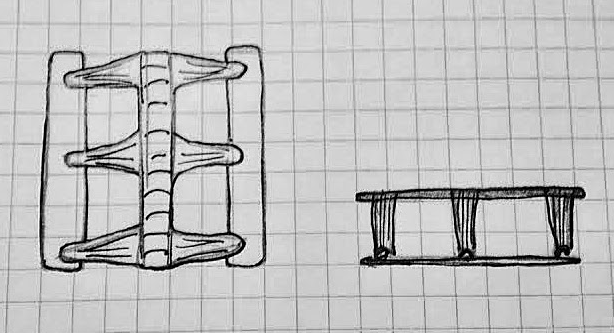
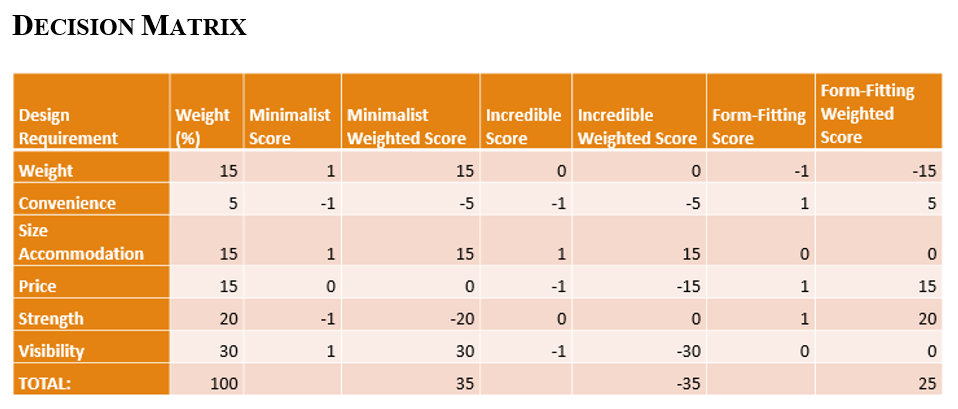
We brainstormed several design concepts including 3D printed designs, masks, and play-dough prototypes. To determine which of these design concepts to pursue, we evaluated each of our options against our weighted design requirements in a decision matrix. Each of the design requirements receives a weight (how important each of them are for us to achieve), then each design is assessed for how well it is expected to achieve that design requirement. To keep the rating system simple, the scores available were -1, 0, and 1. After multiplying the scores by the weights and summing up the weighted scores, the design concepts could be compared to one another to assess how well they conform to the design requirements.
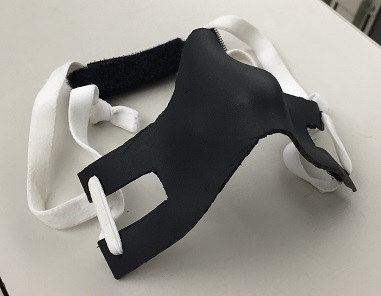
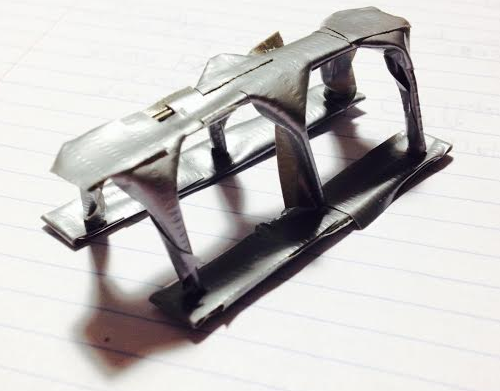
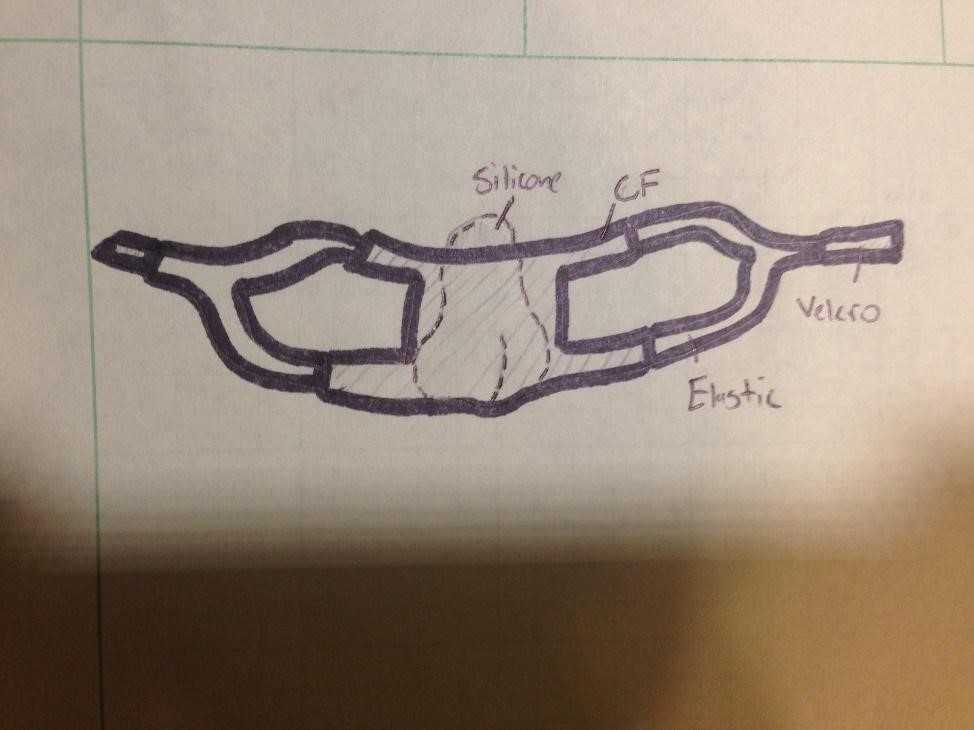
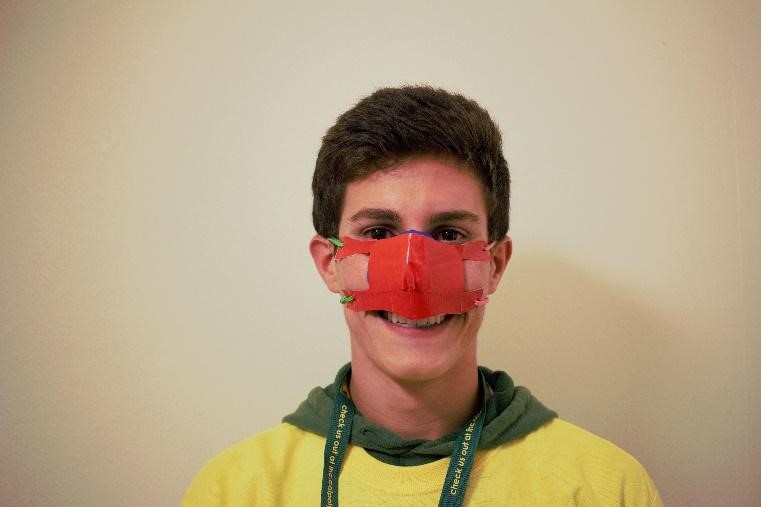
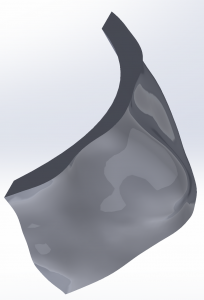
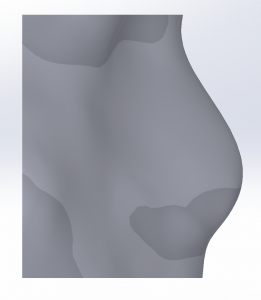
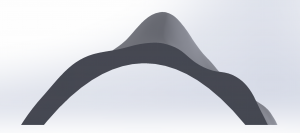
After significant deliberation and evaluation of resources and capabilities, we decided to pursue a design similar to the prototype I am modeling above. However, to provide toughness, we would replace the duct tape with a layer of Kydex, an acrylic polyvinyl chloride that is rigid at room temperature but easily shaped when heat is applied. Kydex is low cost and sturdy and it is commonly used for making gun holsters. To achieve the shape we desired, the original plan was to perform a 3D scan of my face, trim down this 3D scan in Solidworks to create a mold, 3D print the mold, then apply a Kydex sheet to the mold and heat it up while applying a suction.
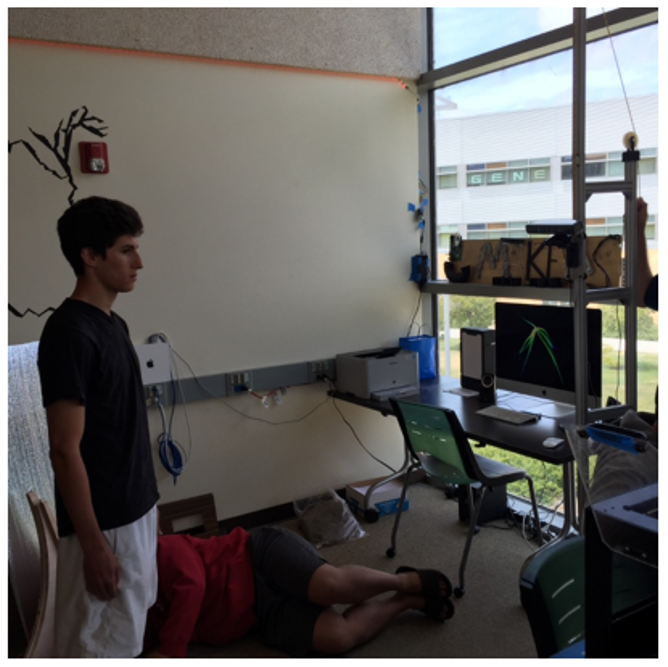
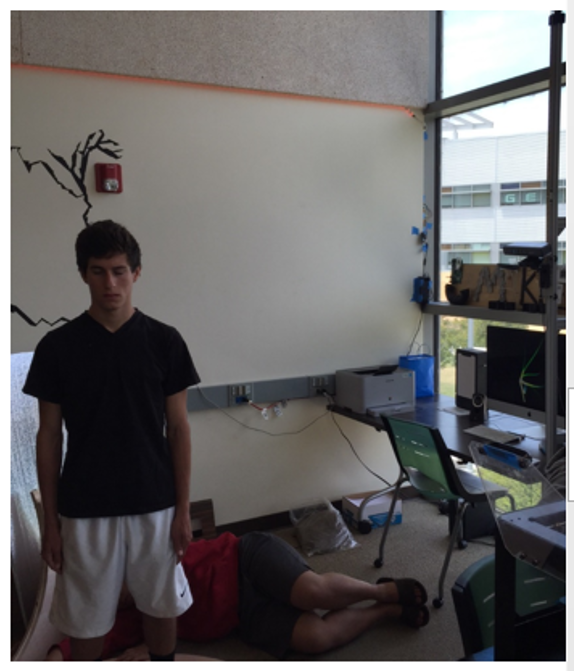
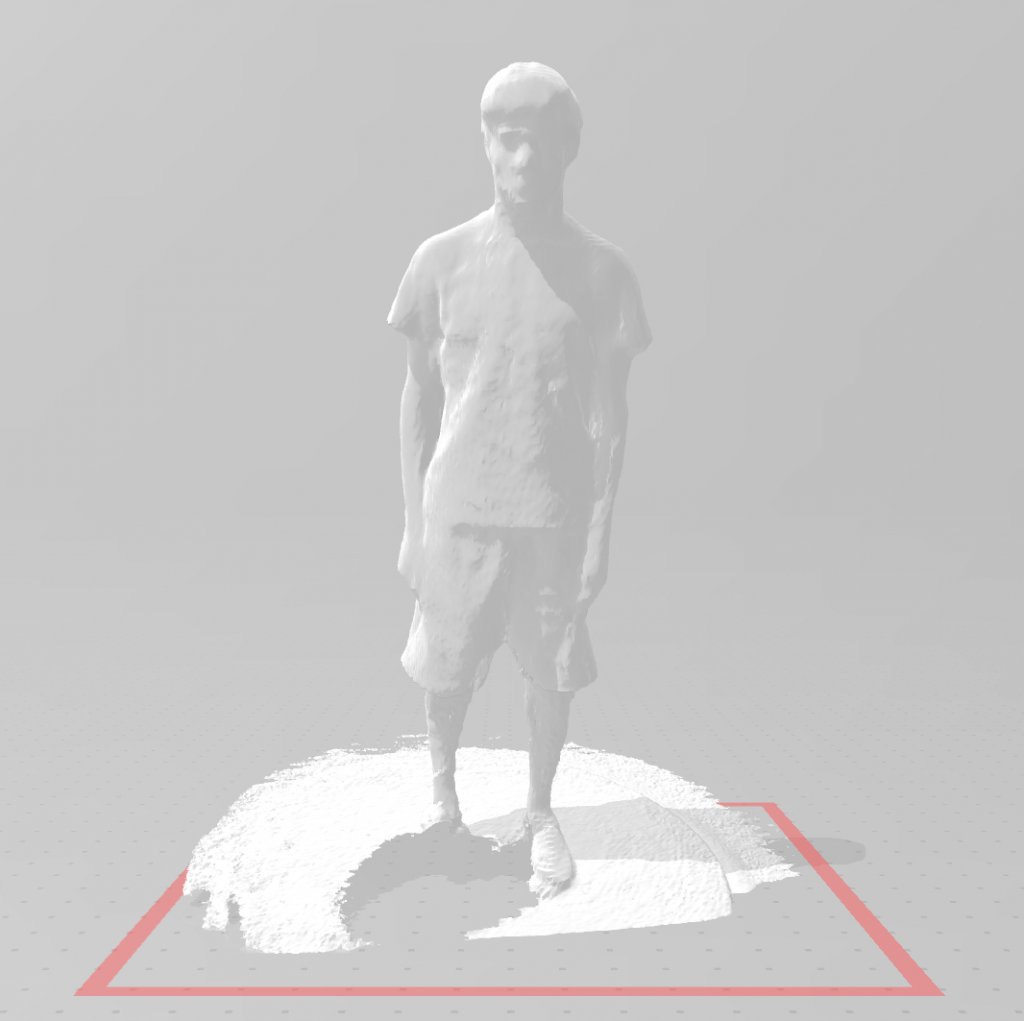
The 3D scan was performed using a program called Reconstructme. I stood on a rotating platform as a scanner (an XBOX Kinect) was moved up and down from head to toe. The result of this scan was a mesh of my body that could then be imported into SolidWorks for some basic cutting and scaling.
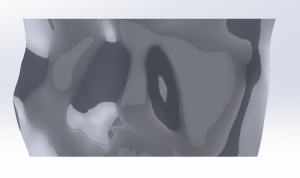
Here are some images of the 3D model of the mold we intended to print:
Unfortunately, the cost associated with 3D printing this mold surpassed our allotted budget for the project. However, our professor was able to bail us out by providing a mold he had previously made of his face for a previous project.
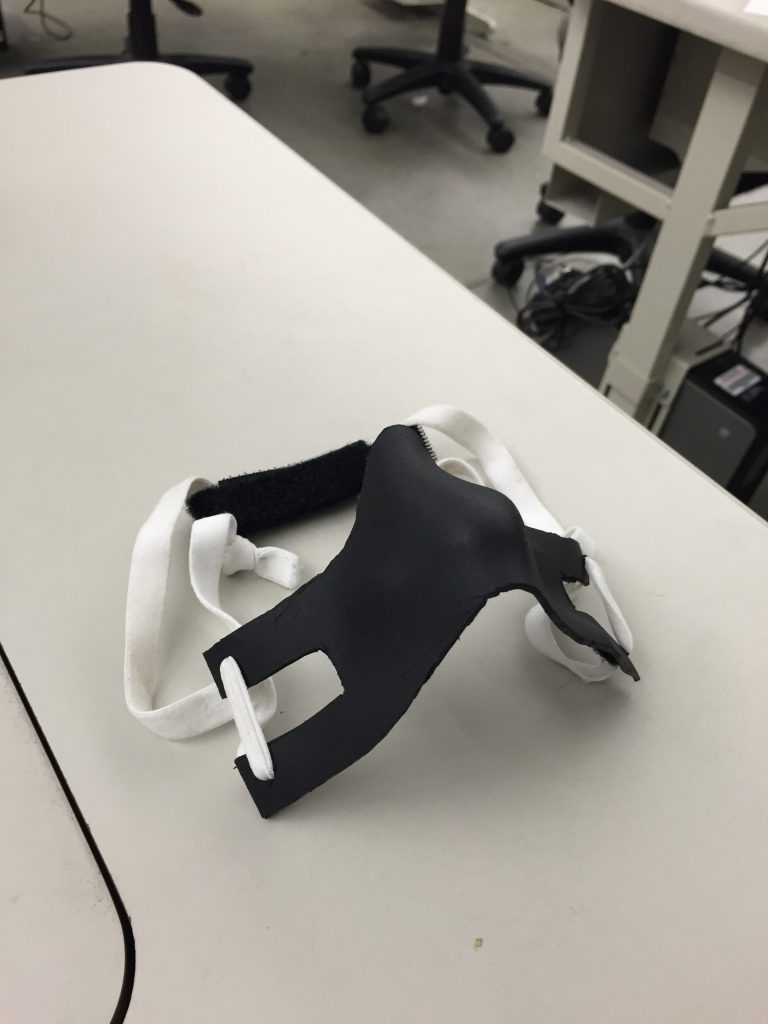
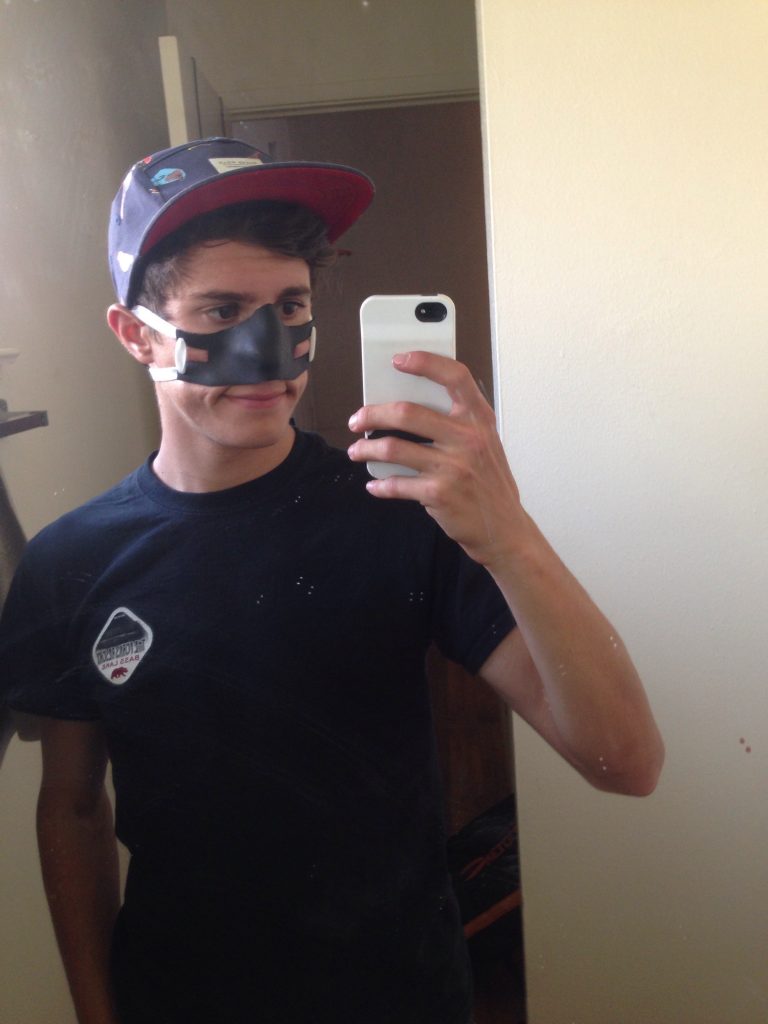
A 0.080″-thick sheet of Kydex was heated to 350 degrees in a conventional oven, placed on top of the mold, and a light suction was applied to ensure a tight fit. After letting the Kydex cool, it was cut down to achieve the desired shape using industrial shears, then filed down to prevent any sharp edges. To put on the finishing touches, small pieces of soft adhesive Velcro were applied to the inside surface of the Kydex, then a small hole was punched into each of the attachment points on the mask. A thick piece of elastic fabric was wound through the holes and a piece of Velcro was adhered to either piece of fabric. The final prototype can be seen below, also brilliantly modeled by myself (no regrets on the mirror selfie).
So now that we had designed and built our prototype, the next phase was to test it out. Unfortunately, we ran short on time so we were unable to perform much mechanical testing on our prototype, but we did solicit some potential user feedback on the quality of the fit, the overall comfort, and the impairment to visibility. N=10 subjects (without broken noses) were told to wear the face mask and play in a recreational pick-up soccer game as normal, then were asked to rate these three criteria on a scale of 1 to 5. The results can be seen below:
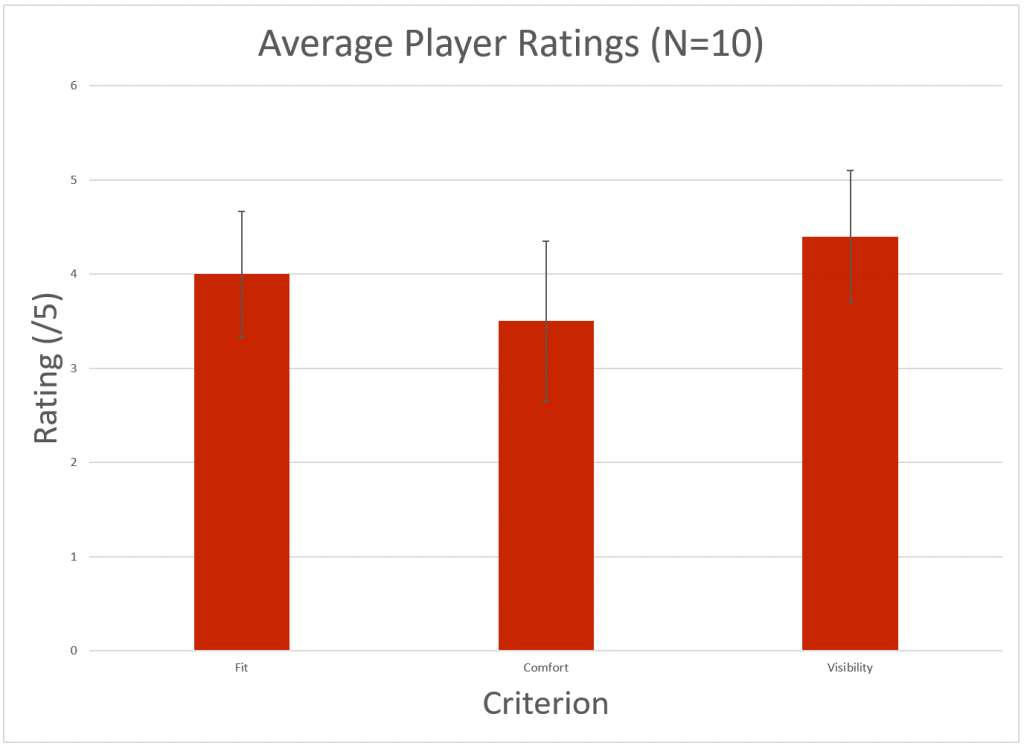
The verbal feedback we received was mostly positive, with a few constructive comments including that the mask made it “a bit hard to breathe,” that the “pads become uncomfortable after a while,” and one person noted they needed “a more snug fit.” When designing the next prototype, these comments can be taken into consideration. The next phase of this project would involve completing functional testing including an evaluation of the force required to deform the device in several loading configurations, reevaluating the material and geometry of the internal adhesive pads, developing multiple sizes to accommodate different face sizes, and rounding off the rectangular corners of the mask to avoid any unnecessary skin trauma. We would also want to develop a test to assess the protective ability of the mask in order to determine how effective it is at protecting the injured individual.
This project took us through need-finding, ideation, prototyping, process development, and design validation testing. Although the project was intended primarily to introduce us to the process, I also learned some valuable lessons in design communication, 3D modeling, and design for manufacturability. I got to hold on to our finished prototype, and I hope to one day iterate our design and determine whether there is any true marketability to our design concept.
